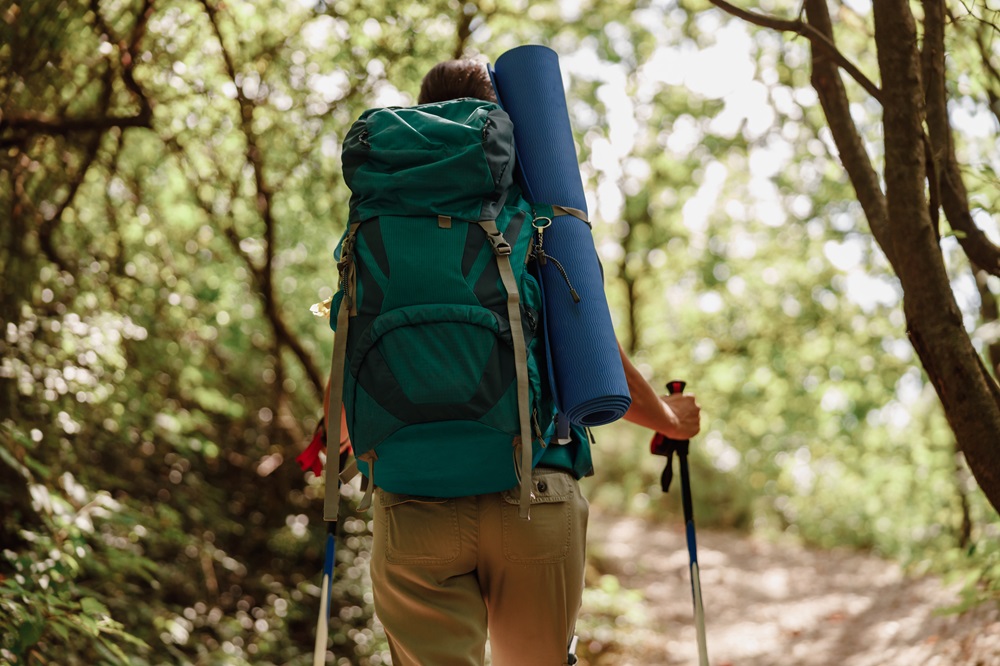
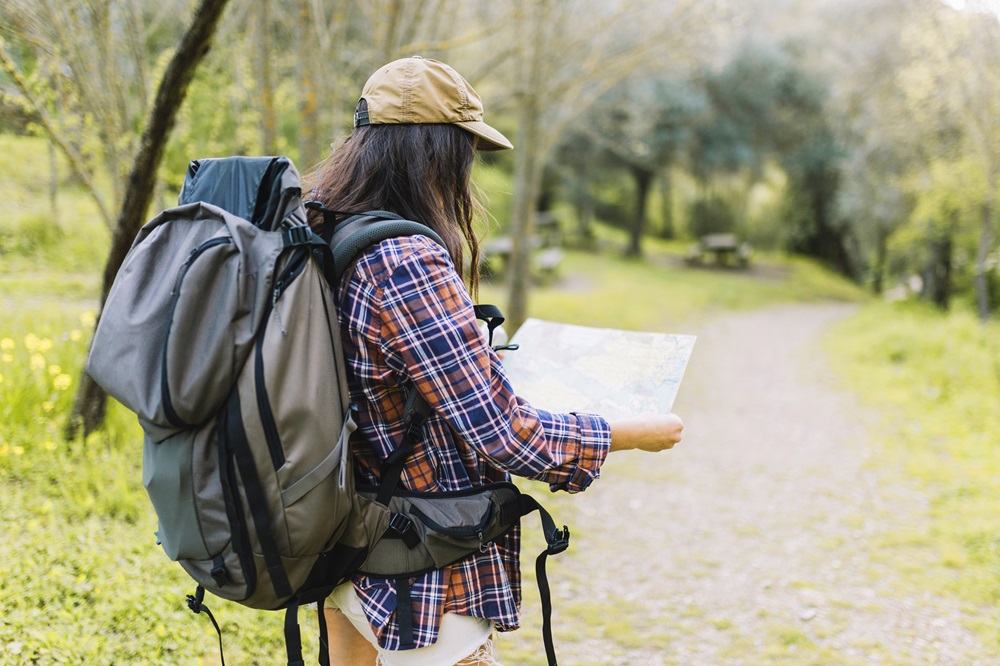
An external frame backpack offers incredible load carrying capacity for longer trips in the backcountry.
Unlike internal frame designs, the bag attaches to an exterior aluminum frame which helps transfer weight to the hips.
But organizing gear strategically across this type of pack is crucial. Improper weight distribution leads to back strain and hiking misery!
External Frame Backpack Packing Basics
Before loading up an external frame, ensure you get the right type and size pack for your body measurements and intended trip duration. Key factors are torso length, total volume, and weight capacity.
For multi-day and heavy loads, choose a higher volume external frame backpack with 5,000 cubic inches or greater capacity, robust internal reinforcements, and strong yet adjustable external frame rods.
Pro Tip: Measure expected gear and add an extra 15% buffer so volume isn’t maxed out.
With the right external frame backpack equipped, let’s examine how to properly load and distribute contents from bottom to top…
Step-By-Step External Frame Packing Guide
Follow this sequence for loading your backpack:
| Layer | Items to Pack |
| 1. Bottom | Sleeping bag; outer tent body if separated |
| 2. Middle | Clothing layers; food; cookware; first aid; shelter parts |
| 3. Top | Sleeping pad; insulation layers; rainwear; lightweight items |
Now we’ll overview the contents to load into each horizontal layer in detail:
Bottom Layer – Bedding
Place bulky fluffy items with structure along the bottom, like your sleeping bag and shelter floor. Then cinch down side compression straps for a solid base.
Sleeping Bag Considerations:
- Stuff unincorporated sleeping bags into waterproof vinyl sacks
- For fused sleeping bag kits, just load the full rectangular bag
- Position horizontally across the frame’s load Lifter bar
Tent Considerations:
- For freestanding assembled tents, strap vertically to frame poles
- On unpacked tunnel tents, pack inner sleep floor at bottom layer
Middle Layer – Essentials
Here lies your workhorse layer for core gear categories to sustain living:
Clothing
Pack next-to-skin thermals, hiking socks, base layers for variable weather. Then add insulted core layers like microfleece and down jackets.
Food & Water
Separate food types to mitigate cross-contamination. Load dense canned goods low as possible. Hydrate packs ride vertically in exterior mesh pouches.
Cookware & Tools
Pots, pans and lighters position in the middle. Utensils go in exterior stretchy mesh sleeves. Group stove parts then load securely.
First Aid & Hygiene
Small med kits fit horizontally while larger trauma-prep kits carry vertically. Toothbrushes slide into hydration pack pockets.
Shelter Components
For non-freestanding shelters, load stake loops, tightening cords, or separate rain fly at this middle layer according to shape and bulk.
Top Layer – Protection
The crown of your pack bears lighter items for environmental coverage:
Sleep Pads
Foam pads strap vertically as possible. Inflatables like Therm-A-Rests arrange horizontally when the middle isn’t overstuffed.
Outer Layers
Rain shells, down puffy coats, hard shells ride up top for quick on-off access when weather shifts.
Accessories
Trekking poles, gaiters, GPS devices and hats keep high in external mesh stash pockets or under top lid covers. Lightweight stuff sacks ride vertically in dual side pockets.
And there you have it! Your external frame backpack is perfectly prepped and balanced for hitting the trails across days or weeks, come rain, snow or shine.
Now just top it off with critical items you need handy on the journey:

Topping It Off
Arm your lid organizer with immediate need items:
- Trail maps
- Compasses
- Fire starting kits
- Flashlights
- Pocket knives
- Bug spray
- Sunscreen
- Hand sanitizer
- Toilet paper
- Baby wipes
- Bandanas
- Batteries
- Snacks
- Sweat towel
- Emergency blanket
Then prepare for a comfortable, streamlined hike across miles standing tall with proper posture confidence!
You’ve now mastered the meticulous art of packing out an external frame for multi-day adventures in the wild.
Just double check all straps are cinched, frame height is adjusted for your torso, waist belt fits snugly and nothing rattles inside before ascending into new heights!
Key Takeaways
Follow these golden rules when prepping your external frame backpack:
- Load heavier dense items low and lighter items high
- Use plenty of compression straps when possible
- Wrap or sack sleeping bags to contain
- Never let items exceed the parameters of frame
- Ensure upper mesh doesn’t droop when cinched
- Always do final shakedown test before departure!


